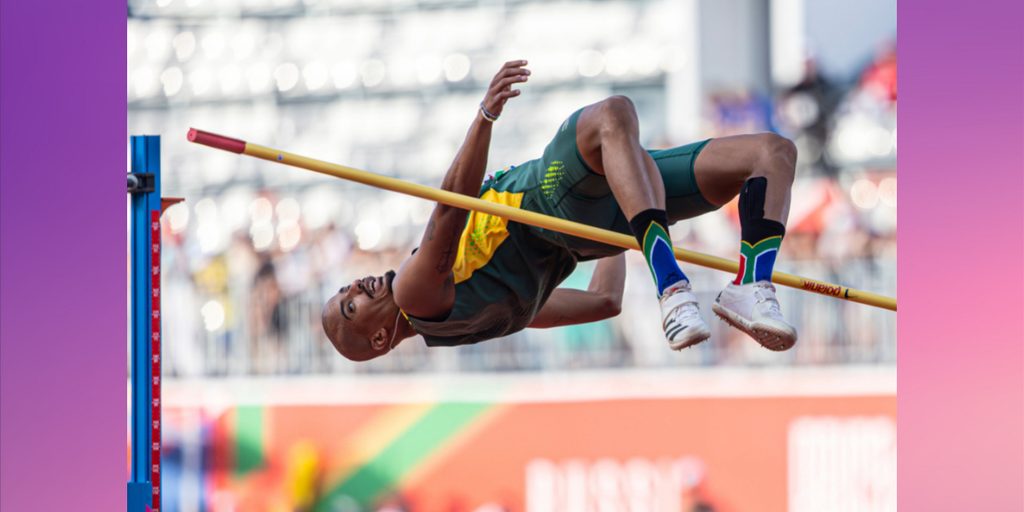
In this post we're going to cover some fundamentals of the high jump, and a couple of things that are opinion and debated in high jump circles, like how to initiate the curve. These ideas are based on Brian Clymer's presentations.
Posture
Maximally extend and separate tailbone from top of head.
- This will bring your pelvis to a more natural neutral position.
- Live like this. Don't try to make it a habit only at the track.
- Pilates promotes this immaculate posture through "mindful movement". Look into it as cross training.
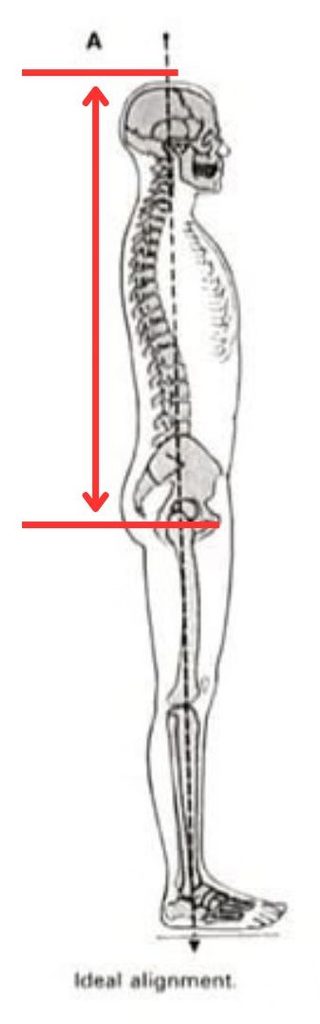
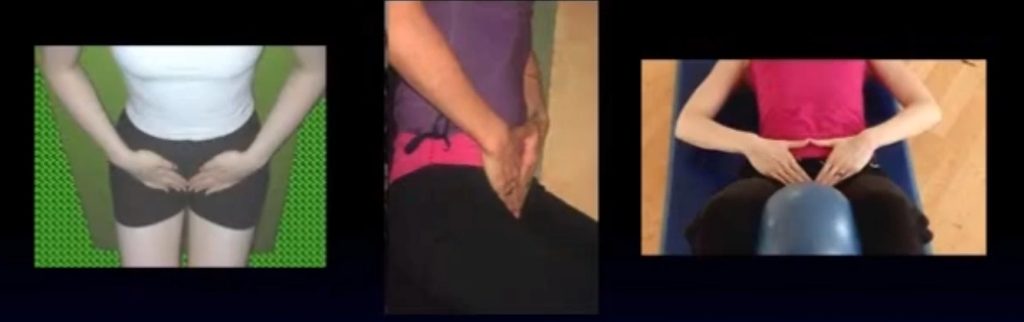
Pelvis posture is a primary key to quality high jump technique.
- Neutral pelvis - Vertical pelvic face found by making hands vertical.
- Maximally separate tailbone from top of head.
- Pelvis posture is fundamental to keeping entire body stability during run and jump mechanics.
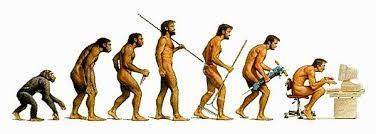
- Posture, and pelvis posture specifically, is a fundamental of track and field that is often overlooked by coaches.
Excellent Sprinting
Optimal jumping technique cannot occur until a great sprint technique occurs first.
Front-side mechanics are especially important for jumpers since the quality of knee drive at take-off is front-side dependent. Keep legs in front as much as posssible from very first step. Back-side mechanics are the enemy.
Do your work while there is no resistance. Punch/pop the ground from above it. Do not let the foot fall to the ground and then re-push it (hammer and nail analogy). Foot plant at take-off will depend on being active to the ground, not waiting for it and then re-pushing. Set-up active take-off foot plant with active running.
Basic ingredients:
Posture + Rhythm
If these two components are poor, then you don't have a shot at reaching your potential.
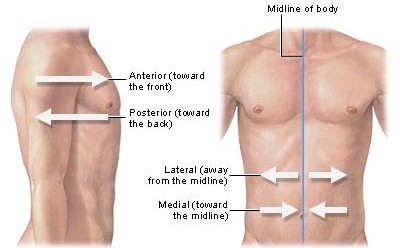
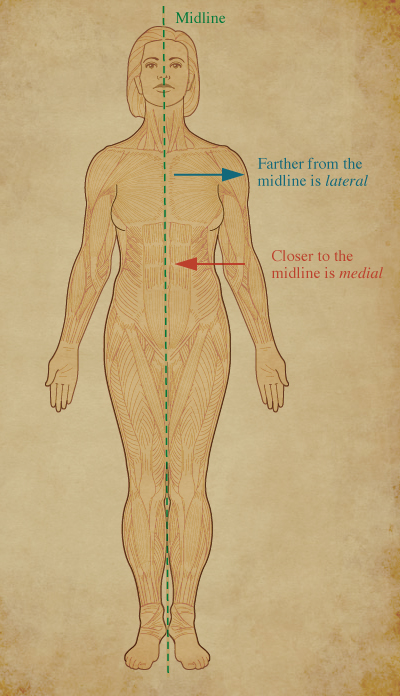
Mid-line and Long Axis of The Body
For the purposes of our discussion, the mid-line of the body and the long axis of the body will mean the same thing.
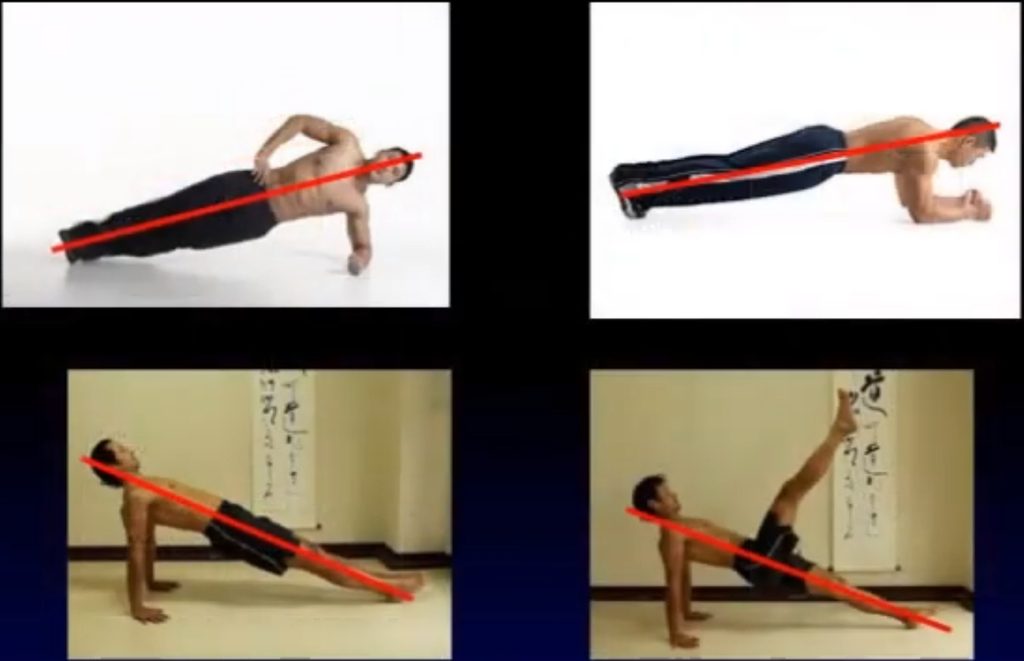
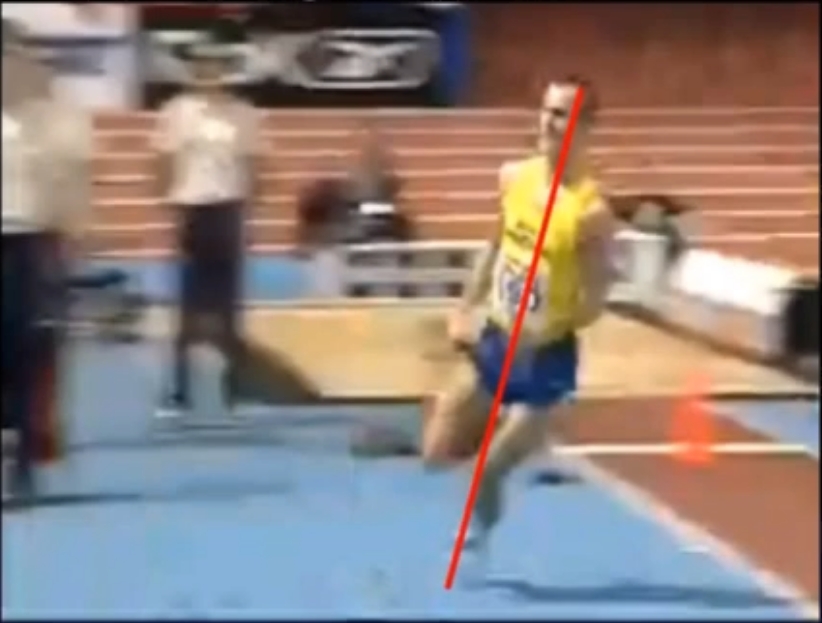
Lean Posture While Running The Curve
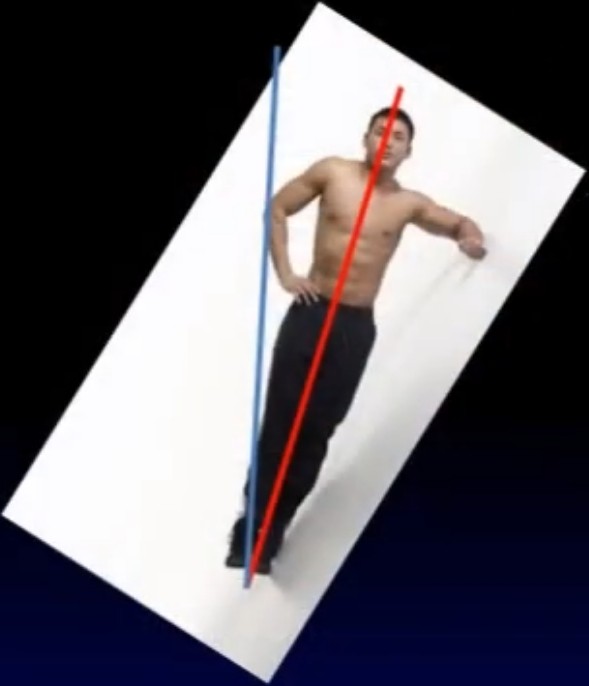
If you can imagine this guy from the plank slide as a high jumper:
- Great postural stability through the long axis (in the exercise) is also what we are looking for while running the curve and during the take-off phase.
- This postural stability alone will go a long way to set-up a quality take-off phase = hinge moment.
Initiating Your Curve
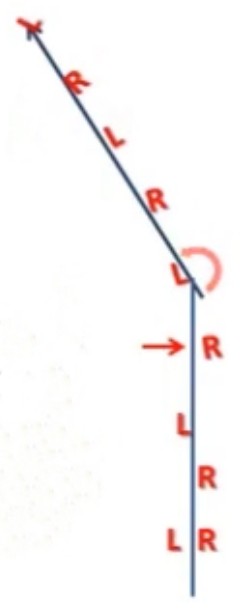
By the intersection point of the approach, the jumper's body should be completely vertical and tall. They can "toe-in" with the outside foot immediately preceding the intersection point, to the tangent of the curve in anticipation of the intersection point. No intentional "stepping out"with the outside foot prior to the intersection point. If you step-out to start your curve, you're more likely to step-out to finish your curve.
Long axis falls tall laterally to the inside of the curve. This move is anticipated. Feet stay on the curve like a bike.
Inside foot steps in to (or over) the mid-line. Then, outside knee comes in to the mid-line.
The intersection point (IP) is typically located 5-steps out from take-off.
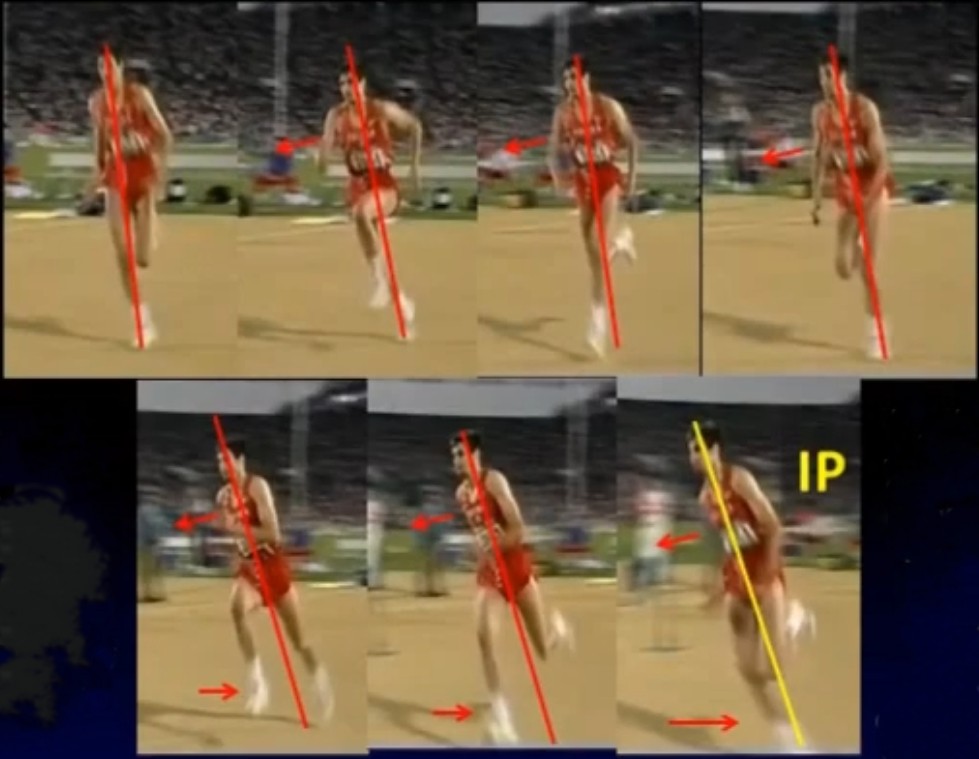
Notice the anticipation of the intersection point in the steps leading to it, as the long axis of the body readies itself for aggressive lean of the curve (top 4 images).
Notice the very strong stepping over to the mid-line of the inside foot at the intersection point (bottom 3 images). His inside foot essentially contacts under his outside shoulder.
Running Your Curve
A solid full-body lean must be created while on the curve. Body must stay tall and disciplined with a good "plank" emphasis throughout the curve (from the ankle). Hips should slide gradually forward from intersection point through take-off.
Inside leg should continue to step to (or over) the mid-line, while outside leg must continues to step in. Inside leg will naturally continue to stay on mid-line after quality initiation at intersection point but, outside leg (foot/knee) will take considerable effort to continue to drive across and in to the mid-line.
Feet should feel as if there are making small "Xs" as you run with a full-body lean through the curve.
Use inside foot to initiate the curve by stepping to, or over your mid-line, like leaning a bicycle over to make a gradual turn. Stronger high jumpers can place inside foot under outside shoulder.
Easier to consistently stay on your curve through take-off when initiated with inside foot/leg.
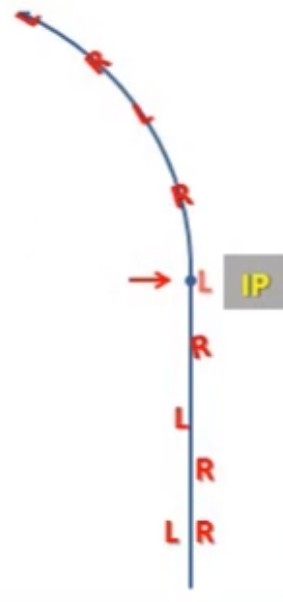
Avoid using a "step-out" with stride immediately prior to intersection point. This can cause several problems. Just one is a curve that slides deep and "steps-out" on penultimate step due to the right leg continuing to swing out during your curve.
"Stepping out" to start curve prior to intersection point will make it difficult to get the right side back to the mid-line, thereby promoting "sliding" out through the curve and lead to "stepping out" on your penultimate step, which is not a good thing. The way you enter your curve is the way you will exit your curve.
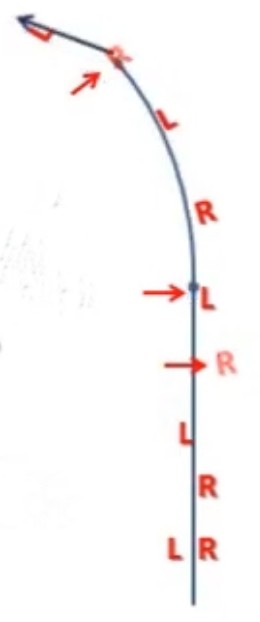
Avoid "cutting" your curve. This happens a lot with jumpers who are in too much of a hurry to get to the bar, rather than spend time running a great curve to set-up a great take-off.
"Cutting" your curve can happen for several reasons. Esseantially, all of them revolve around a poor curve/lean set-up. The main reason Brian Clymer has experienced most is an out-step (jab step like a wide receiver) in combination with turning the body into the curve instead of leaning into the curve.
Rhythm Crescendo to Take-off
Rhythm must build throughout the curve. Excellent and consistent = practice, practice, practice. High jumpers should perform a lot of approach work and circle drills in practice.
Optimal, aggressive and controllable speed to take-off. They should have a "fast feet" feeling to the take-off with a very aggressive foot placement at take-off.
Keep the arm's range of motion (ROM) strong, whether you do a single or double-arm take-off move. Outside arm emphasis also to the mid-line of the body.
Running the curve is the most important thing aspect of high jumping. Strive for perfection and you might attain excellence.
Everything in the take-off phase, in the air, and over the bar is set-up by a great curve. You can't build a great jump on a lousy curve.
Take-off Phase Goal
There is only one hinge moment in relation to the long axis throughout the jump, and that should be from the ankle at the ground.
There should be absolutely minimal hinging inside the long axis of the body, as in the hips, thoracic and lower lumbar spine, as well as the neck.
Take-off phase = One "hinge moment"
Take-off phase begins the instant the take-off foot plants on ground and ends at instant of toe-release. Postural stability, or plank, must remain strong throughout the take-off phase in order to jump up through vertical.
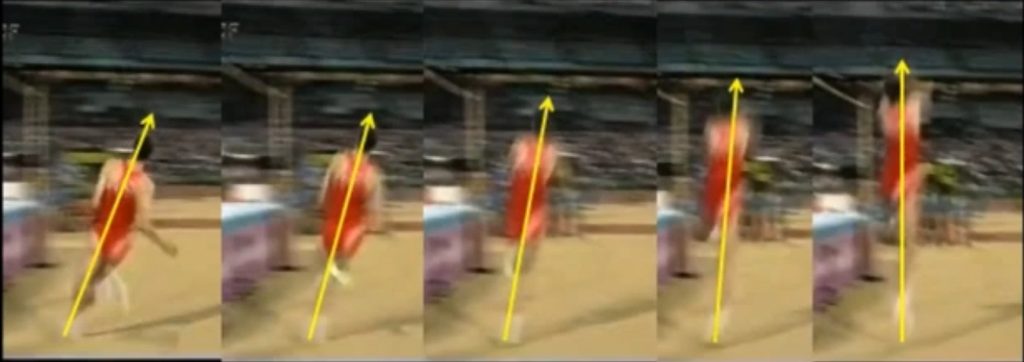
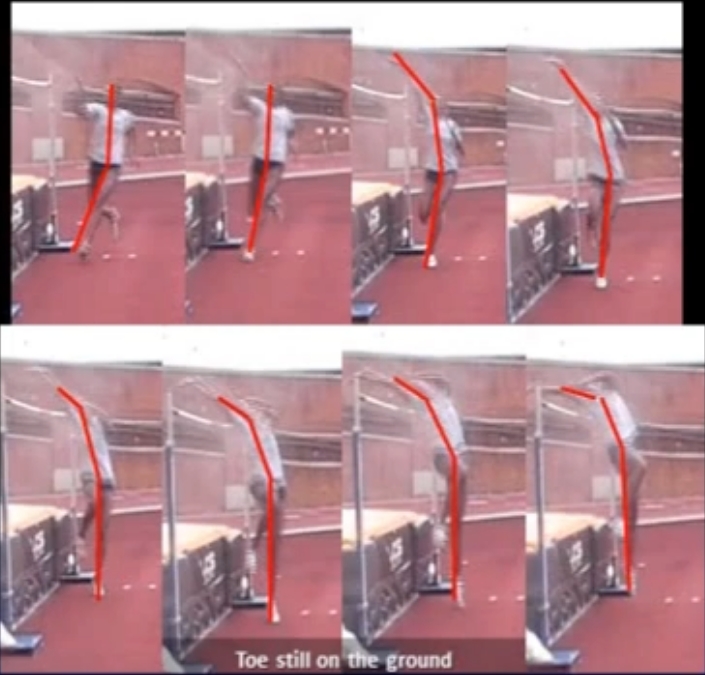
Too many hinges through hinge moment creates poor energy return from the ground through take-off. Too many hinges creates diving at the bar, rather than jumping up through vertical.
Practicing Your Positions to Hit in The High Jump
All events essentially boil down to your ability to achieve a few optimal positions that are technically correct, mechanically efficient, and observe anatomical truths. Since pictures can say a thousand words, here are some pictures accompanied by a few words. Once you can achieve approximately same positions consistently at shorter approach runs, then you simply add steps to the run and thereby, add speed.
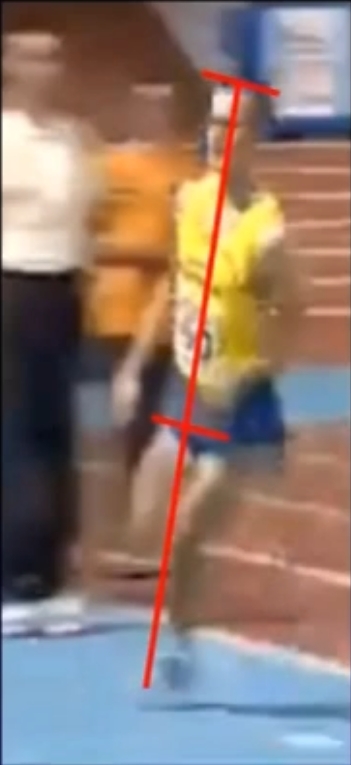
Goal: Intersention point
By the time you start your curve, you should be fully erect and vertical.
Fall tall laterally to the inside.
Inside foot under outside shoulder.
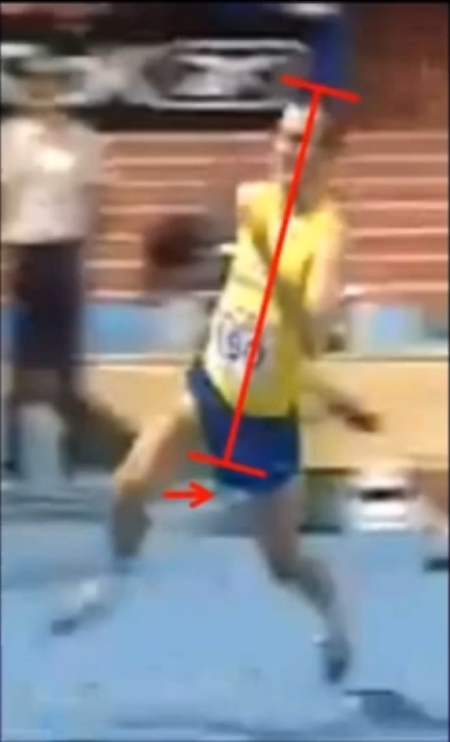
Goal: Curve running
Posture should remain tall as possible.
Outside knee should continuously drive "inside the curve" to the mid-line of body.
You want to feel pressure in your foot contacts.
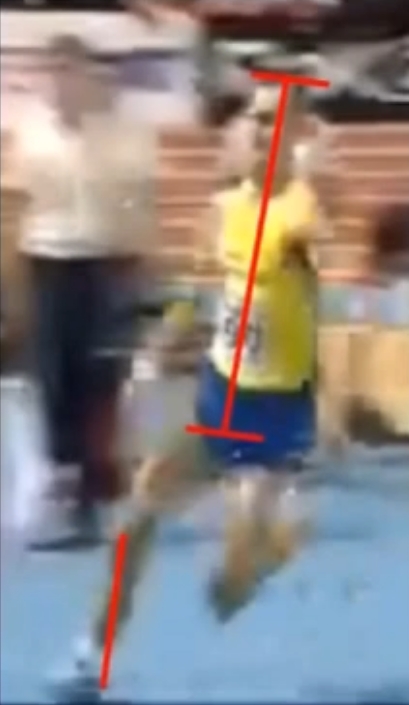
Goal: Penultimate step
Hip posture should remain neutral, not recede or anteriorly rotate, and ideally slide forward.
Penultimate step contact should be flat (or near flat) and slightly out in front of the body with a vertical shin.
Practically, Brian Clymer recommends the coach cue posture and quickening crescendo here. It can be tricky cueing foot contact and shin angle. Postural cues will usually take care of most distal limb issues.
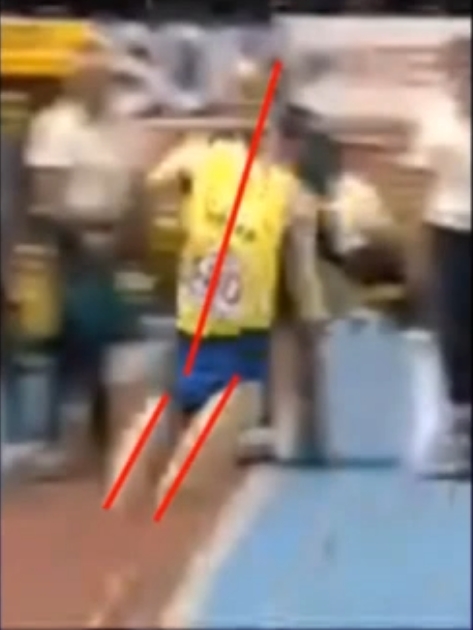
Goal: Plant or beginning of take-off phase
By the time the take-off foot is fully planted, the opposite thigh should be parallel with the take-off leg thigh. This is an indicator that the last steps and take-off are quick enough. Beginners and "power jumpers" will have hard time hitting this position.
Long axis of body must stay tall and back-away from vertical as the foot is aggressively planted.
Regarding hinge moment/take-off cueing, Dwight stones says he "felt like he was jumping back, away from the bar, when he hit a great take-off". (Paraphrase)
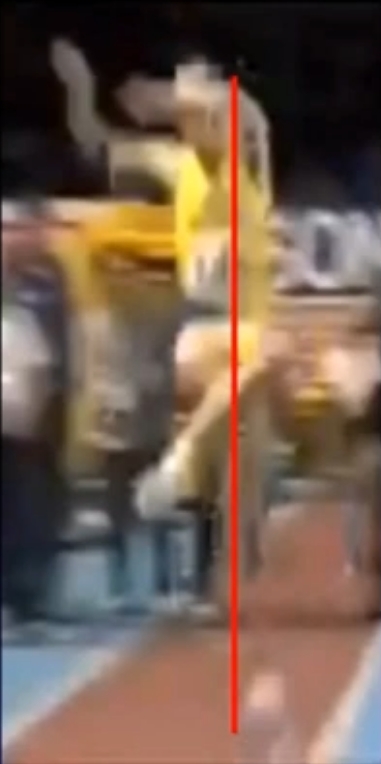
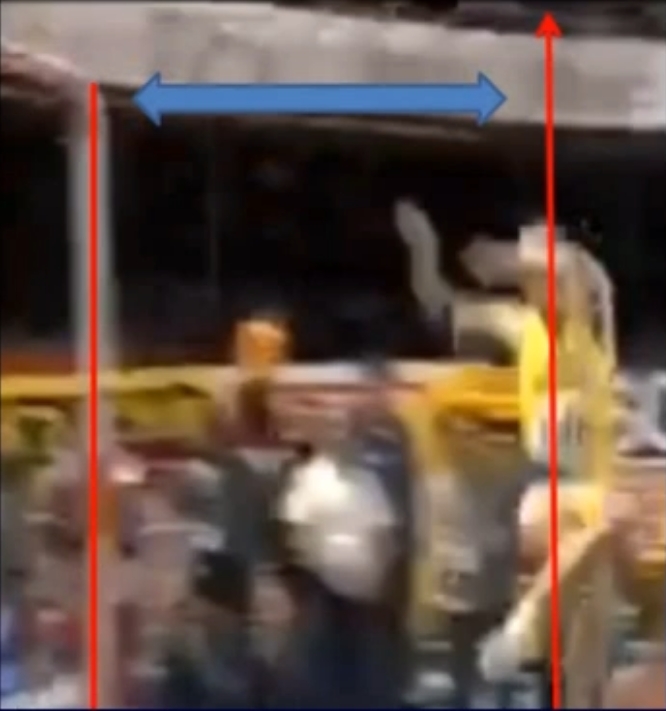
Goal: Toe-off or end of take-off phase
As long axis hinges to vertical, posture must stay disciplined with still only the one hinge moment from the ground.
At this point, most average high jumpers have already "dived" at the bar by creating multiple hinges at the hip and neck.
High jumper must stay away from the bar as long as possible and jump up to a point in front of the crossbar.
They must trust that a well run curve and a "hinge moment" that "stays away" during take-off phase will get you to ideal height over the bar. They trust physics.
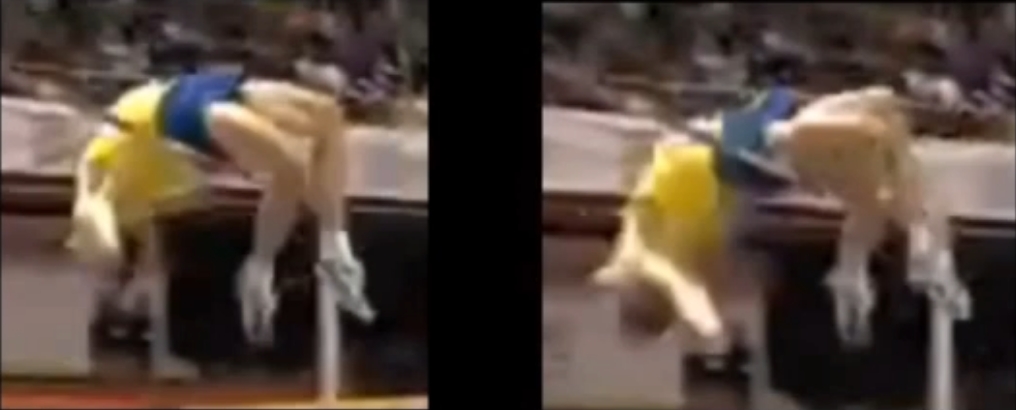
Goal: Bar clearance
They must be willing to put the head and shoulders back while making an effort to kick the underside of the bar with the heels.
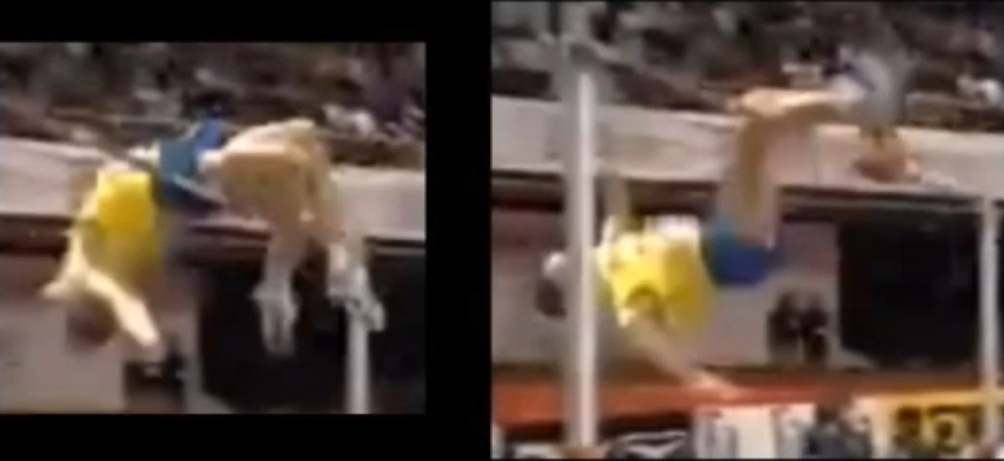
Stretch reflex for bar clearance
Attempting to kick the bar with heels from underneath will create an optimal back arch while putting the muscles of the superficial front line (SFL) on stretch. As a result, the body will reflexively snap the butt down and legs up for bar clearance.
Bibliographic references:
- Brian Clymer. (2012). A High Jump Tech Model - Clymer Version [Video file]. YouTube. https://youtu.be/56QiP7Ks94k
Discover more from Atleta Explosivo
Did you enjoy this content? Subscribe and receive the lastest posts about physical preparation and training in your email.