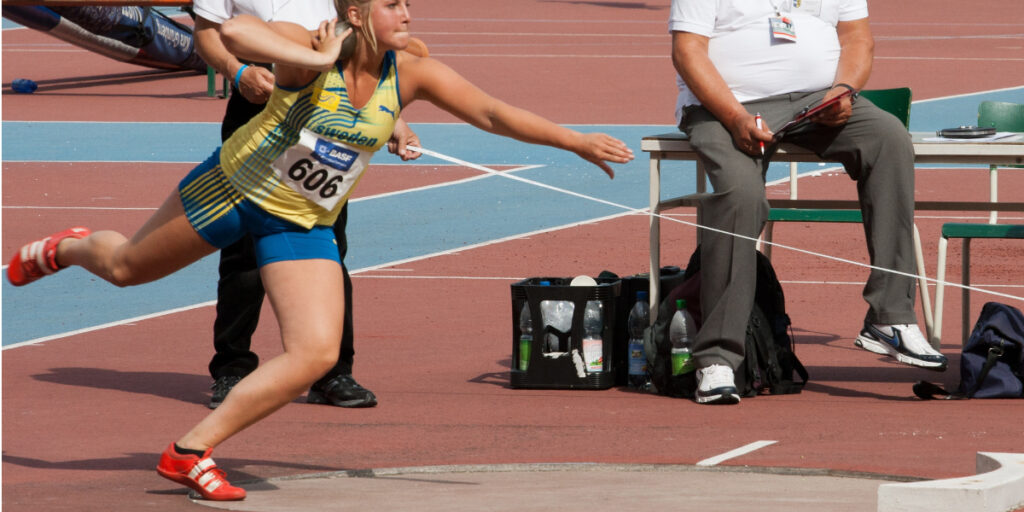
Today I'm going to highlight coach Boo Schexnayder's teaching progressions for the rotational shot put, while addressing preliminary movements such as the grip, stand and wind. In this post, I define the differences in the positioning of the rotational style and the glide style, offering effective strategies to teach both styles. Consistent results in the throwing events begin with locating common mistakes made by your athletes and learning how to perfect these errors well before they step foot in a throwing circle.
The rotational shot put series contains a sequence of shot put-specific exercises designed to work hand-in-hand with our other progressions to provide the rotational shot putter with all of the needed movement patterns to establish the sound technical model. Obviously, most of this progression is adapted from coach Boo Schexnayder's glide shot put and discus throw series.
Our first concern in the rotational shot put is the grip and setup. There are slight differences in the positioning of the shot in the rotational style when compared to the glide style.
- In the glide style, the shot contacts the front of the neck and is cradled with the lower elbow and supported a bit from underneath in many cases.
- In the rotational style, the elbow is higher and the shot often rides a bit higher, contacting the side of the neck more than in the glide.
Beginning stances and positions are the same as in the discus event. When comparing the rotational shot put wind to the discus throw wind they are nearly identical, except that a slightly lesser degree of separation is achieved in the rotational shot put wind.
In the rotational shot put the time available for the strike is typically less than that available in the glide. For this reason, strike mechanics in the rotational shot put are often compromised, particularly the contribution of the shoulder to the strike. For this reason and to combat this problem, we'll take the same approach to teaching delivery mechanics that we take in the glide shot put to maximize the efficiency of the strike. Squares, fronts, and stands are used with fixed foot throwing featured and the delayed reverse implemented. Reversing is permitted in the saddle throw. However, the use of this drill might be delayed until reverse mechanics are proficient and premature reversing is no longer a potential problem.
The mechanics of the rotational shot put and discus are very similar, so we take the same pedagogical approach to teaching the rotational shot put event. We begin with repetitive pivots, and then work into the South African drill introducing the same technical components as in the drills of our discus series. We'll also isolate key positions using the pivot-stop-South African and the turn-stop-stand. Finally, full throws allow for a holistic approach to teaching the event.
The orbit of the shot put differs from the orbit of the discus throw. So rather than teaching highs and lows throughout the turns, leveled shoulders are stressed. The angle of inclination at release comes mainly from the lift produced by the legs during delivery.
Rotational shot put:
- Shot is placed higher on the shoulder in the rotational style, when compared to the glide style. Elbow is high.
- Less separation is gained during the rotational shot put wind when compared to the discus wind.
- Drills to teach delivery:
- Drills to fix foot throwing: squares, fronts, stands
- Saddles
- Delayed reverses
- Drills to teach the turn and delivery:
- Repetitive pivots
- South African
- Pivot-Stop-South African
- Turn-Stop-Stand
- Full throws
Bibliographic references:
- CompleteTrack. (2016). Rotational Shot Put Series [Video file]. YouTube. https://youtu.be/gPiqIOPWlRE?si=NVoeo2VMjyJJ2jE8
Discover more from Atleta Explosivo
Did you enjoy this content? Subscribe and receive the lastest posts about physical preparation and training in your email.